
Step 1
Someone sent you a .termfit file
A .termfit file is your whole term: classes, rooms, instructors, cohorts, rules and the timetable so far. Termfit opens it in your browser. Nothing is uploaded, and there's no account.
- Save the attachment somewhere you'll find it again, like your Documents folder. Don't work on it from inside an email or a zip file.
- Go to termfit.ca in Chrome or Edge and click Open Termfit. From this page: Open Termfit.
- Click Open file... and pick the .termfit file.
- Check the top bar: it shows the term and the campus, so you know which file is open.
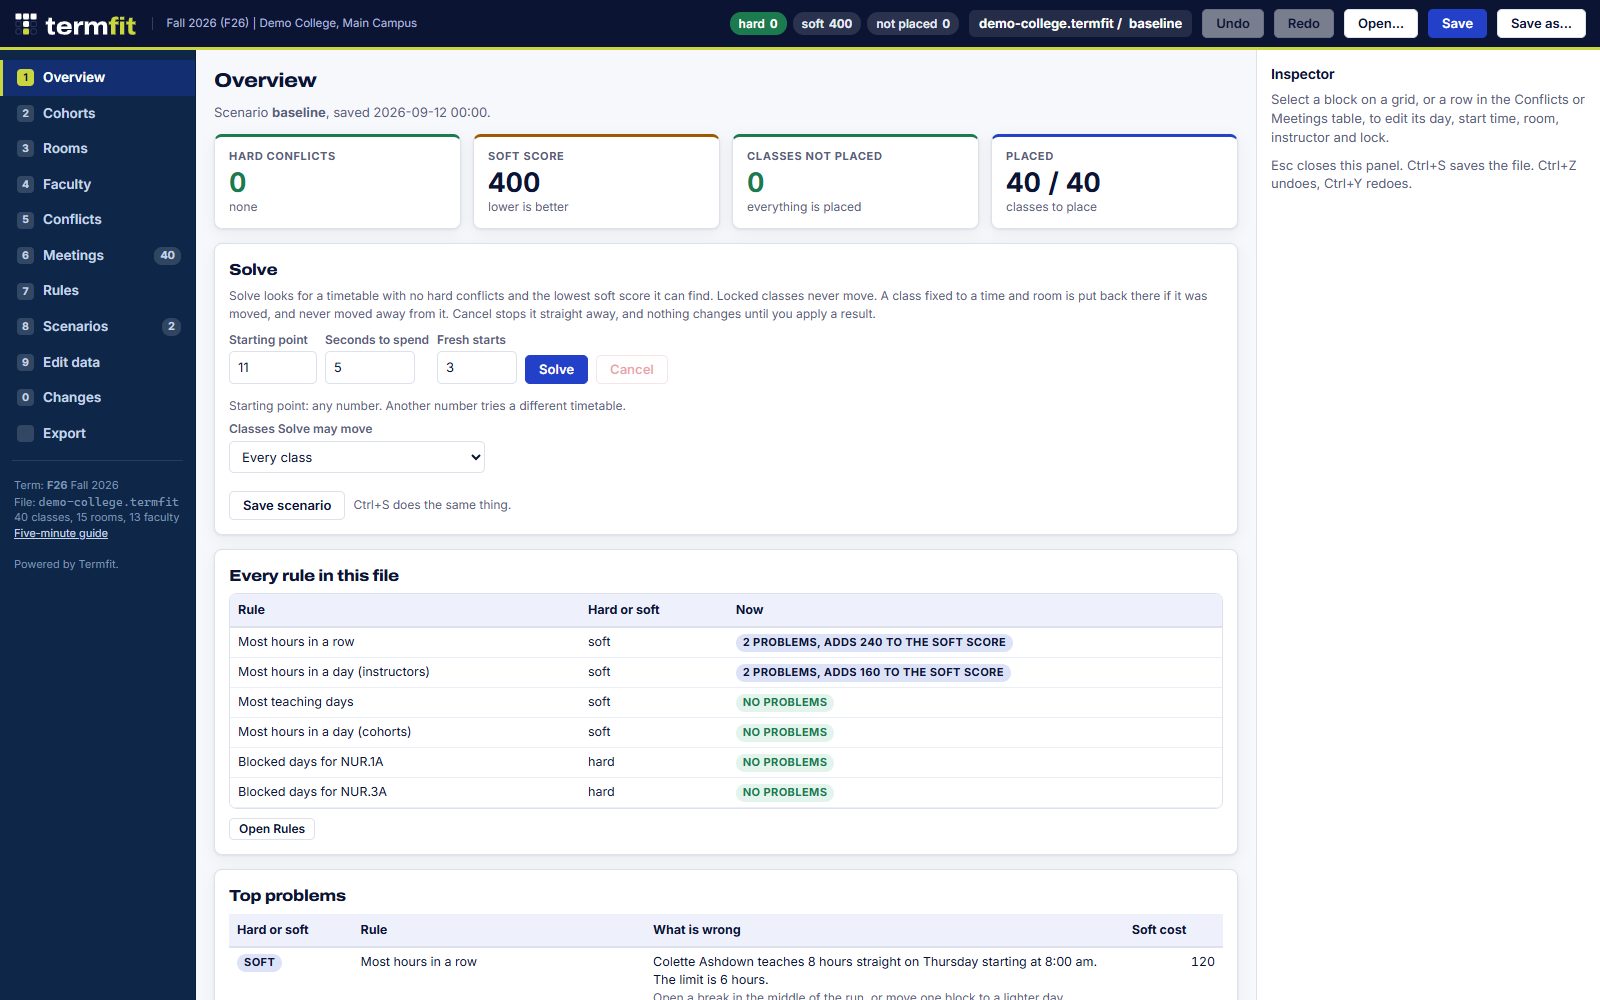
Three chips at the top right keep score while you work. hard counts real problems: a room booked twice, a room too small, an instructor teaching when they can't. soft is a comfort score where lower is better. not placed counts classes that still need a day and a time.
Want to practise first? Click Try the demo college on termfit.ca. It's a made-up college with nothing real in it, and you can change anything.
Step 2
Find your way around
The list on the left is every view. The number keys switch between them: 1 is Overview, 2 is Cohorts, and so on.
- Overview: the score, the Solve button, and a status line for each rule.
- Cohorts, Rooms and Faculty: a week grid for a group of students, a room or an instructor. Cohorts opens on the program with the most classes.
- Conflicts: every problem in one list.
- Classes: every class in one table, with an Add class button.
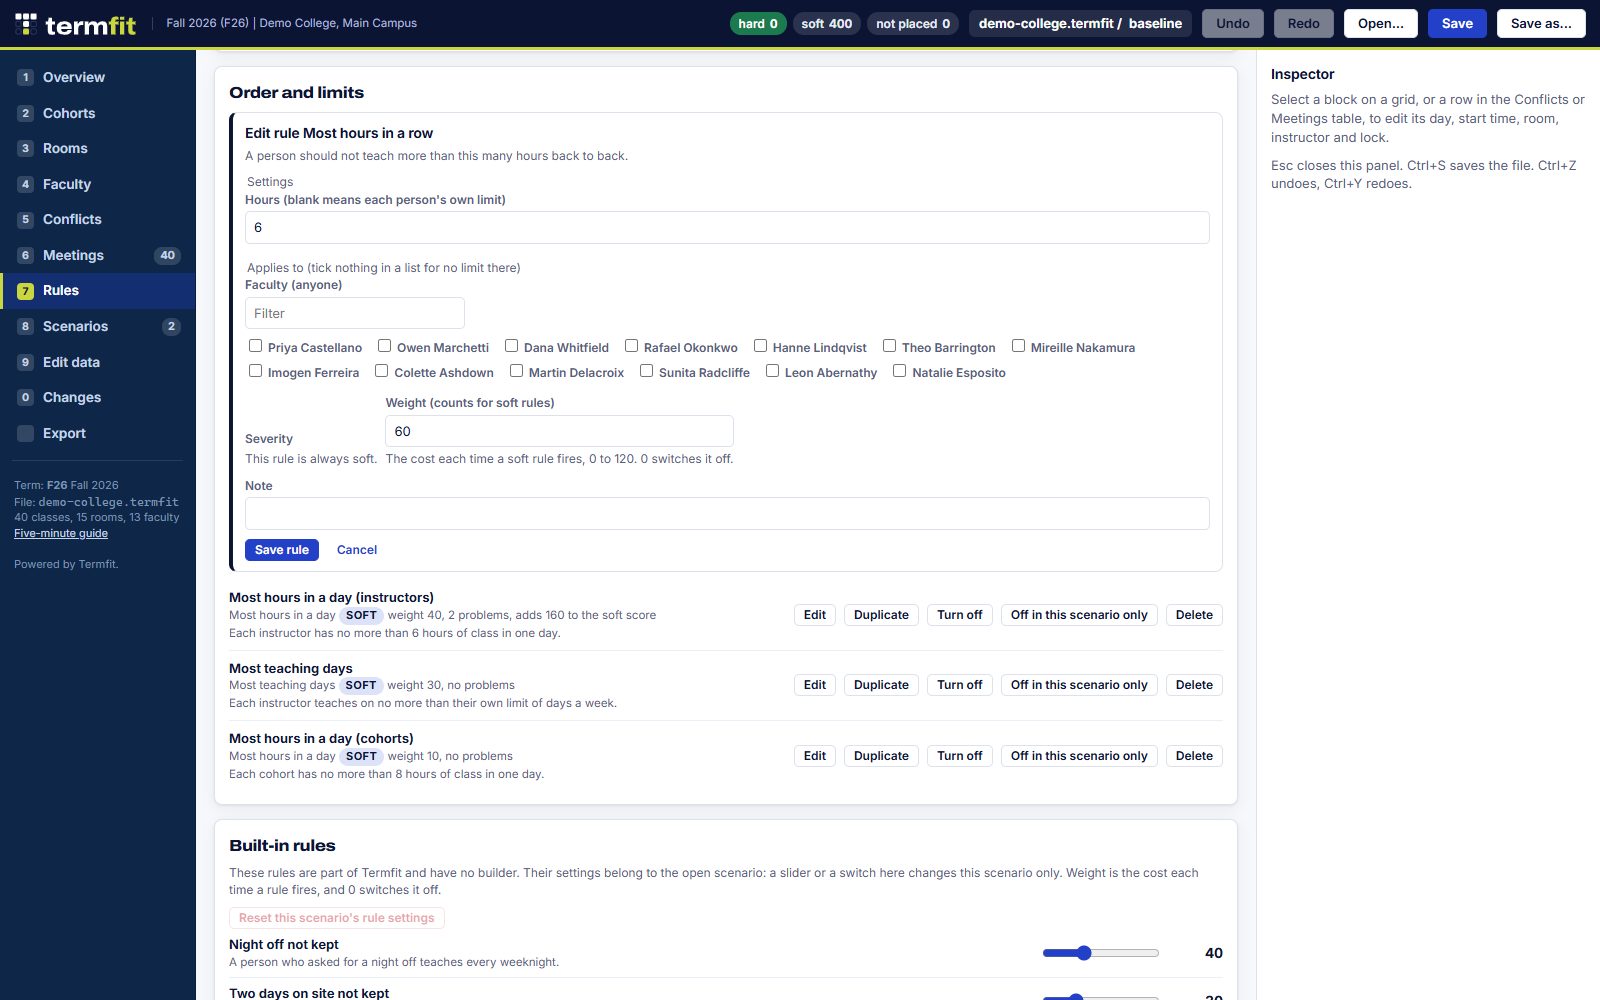
- Rules: the rules the term is planned under, in plain words.
- Scenarios: saved versions of the timetable, to try an idea and compare.
- Edit data: instructors, rooms, programs and cohorts, classes, course import and the calendar.
- Changes: every change saved in the file, each with a Revert button.
- Export: the printouts.
Need to add a course that isn't in the file yet? Open Classes and click Add class. It opens a blank form, and the new class starts out not placed, so you can drag it onto a grid or let Solve find it a spot.
Step 3
Move a class
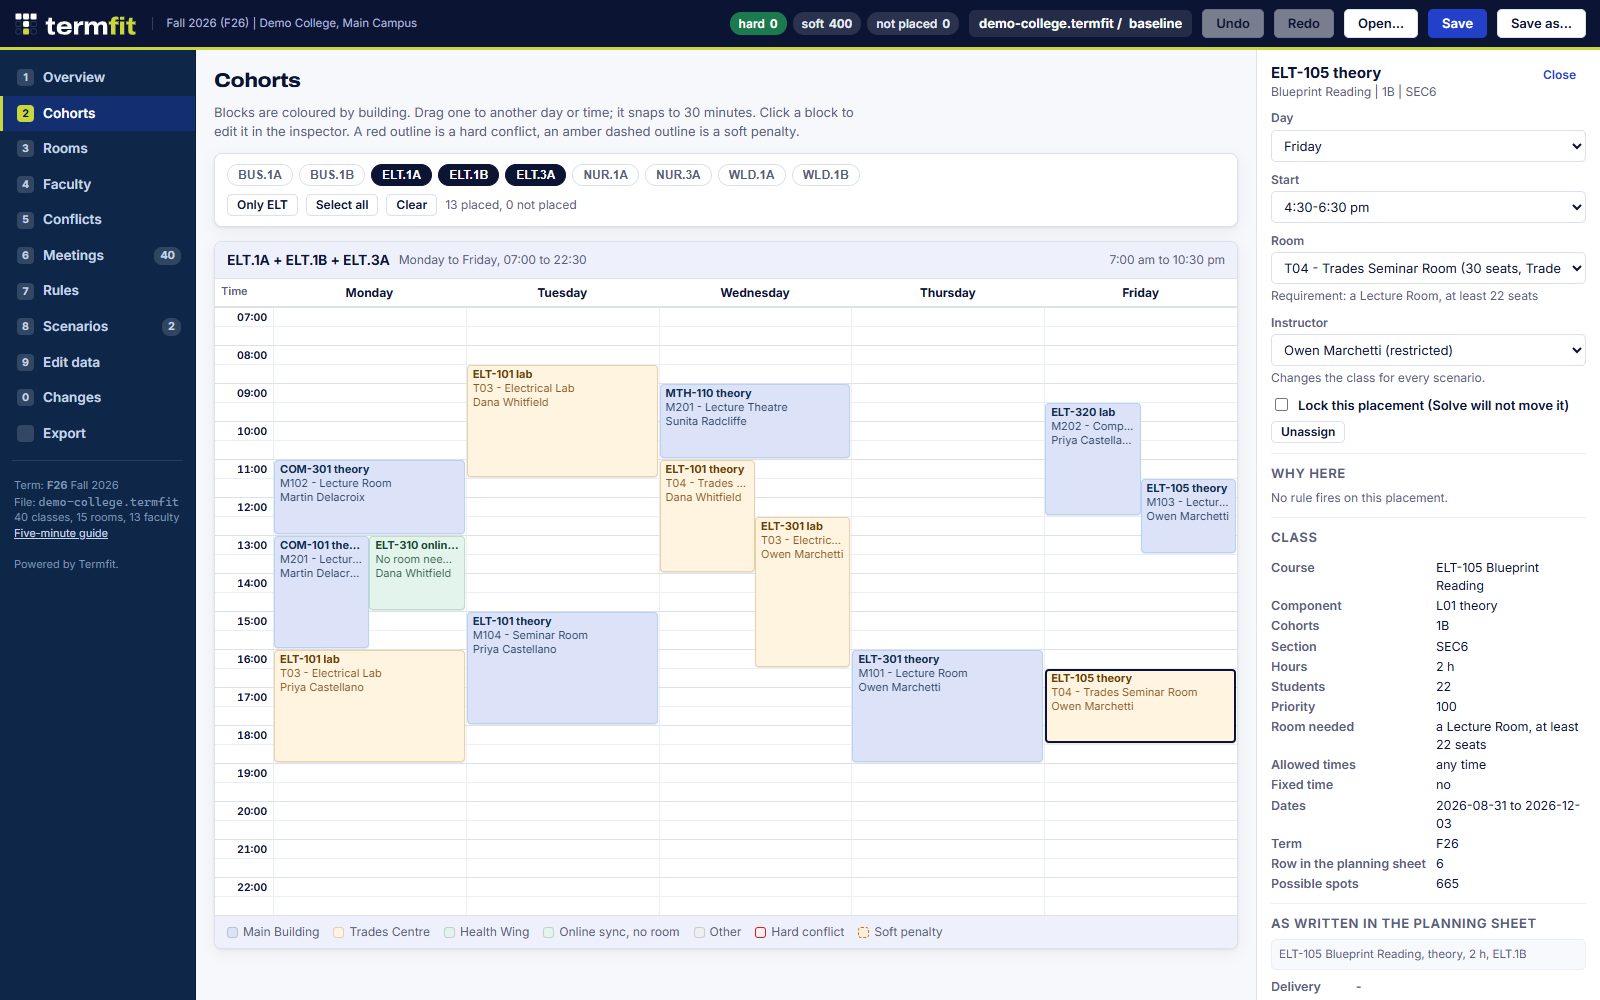
- On a week grid, drag a class block to another day or time. It snaps to 30 minutes, and the chips update as soon as you let go.
- Drag the top or bottom edge of a block to make the class longer or shorter.
- Click a block to open the Inspector on the right. There you set the day, the start time, the room and the instructor, and you can lock the class so Solve leaves it alone.
- A locked class, or one with a fixed time from the planning sheet, can't be dragged. Hover over it to see why.
- Changed your mind? Ctrl+Z undoes and Ctrl+Y redoes.
Step 4
Fix conflicts, one at a time
When the hard chip is red, something clashes. This is the loop you'll use most:
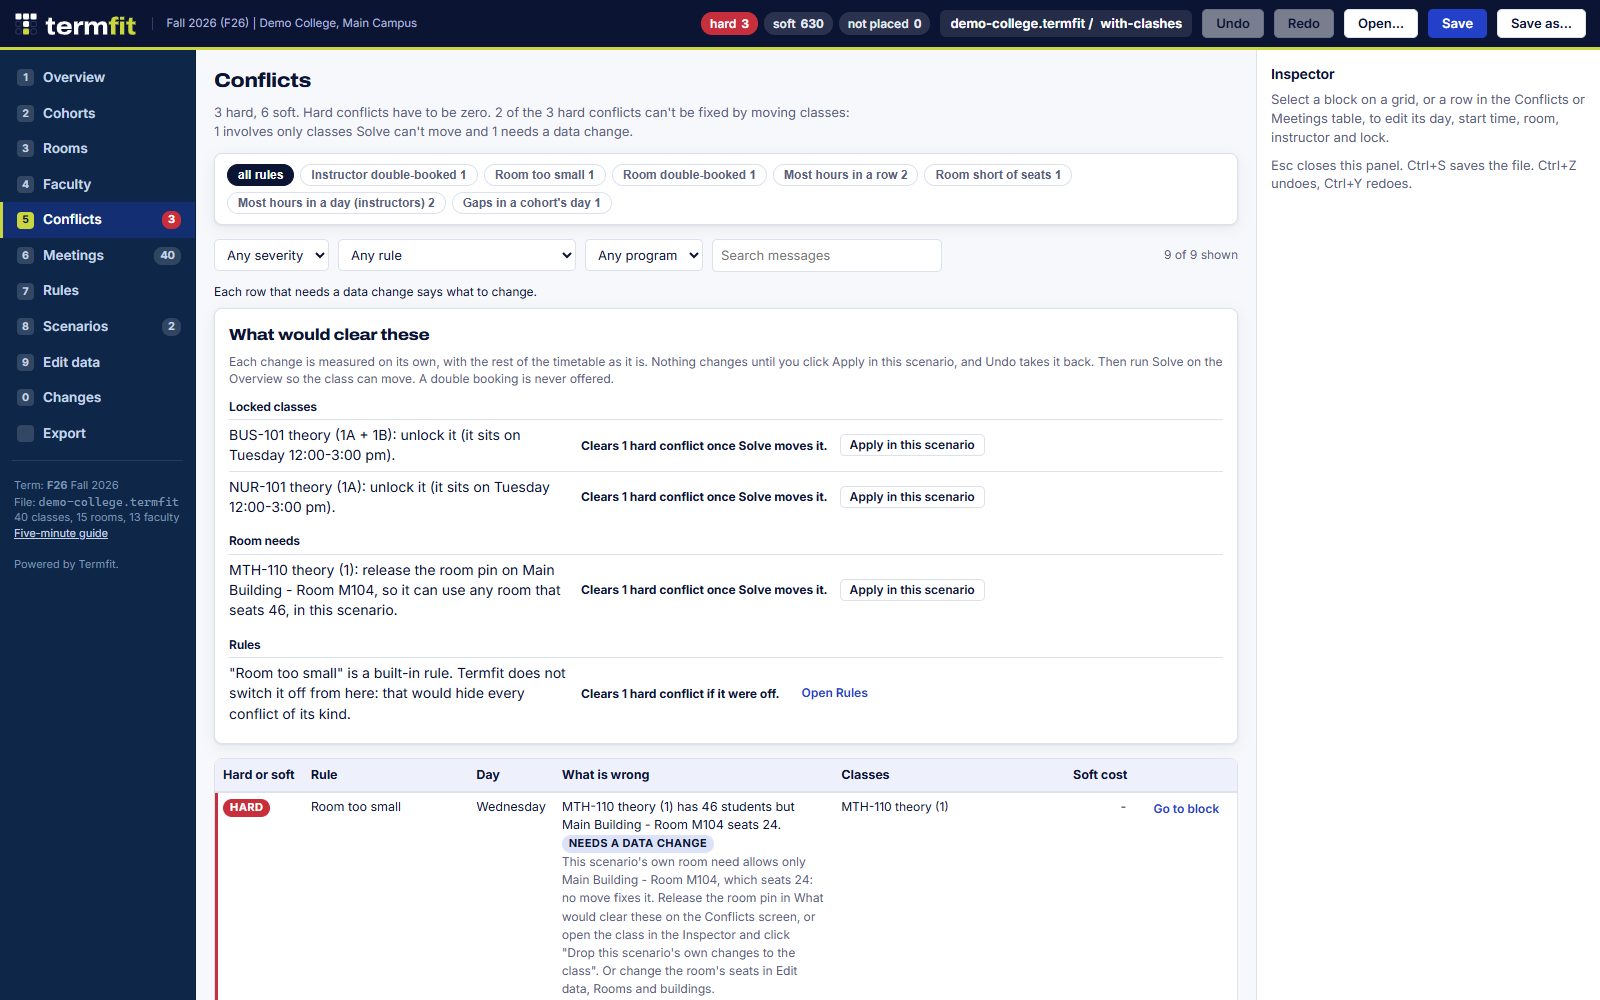
- Open Conflicts. Filter to hard problems first; they are the ones that must go.
- Read the row. It says what is wrong, which classes are involved, and a hint about what would fix it.
- Click Go to block. Termfit opens the class in the Inspector.
- Change the day, the time, the room or the instructor, or drag the block. The chips update straight away.
- Back to Conflicts, and on to the next row, until hard reads 0.
Some conflicts can't be fixed by moving a class: two classes both fixed to the same time in the planning sheet, or a class with no room big enough. The row tells you when that's the case. Then the fix is in the data (Edit data) or in a rule (Rules), not in the grid.
Under the summaries, What would clear these lists single changes that would clear hard conflicts, each one measured on its own: letting a class leave its fixed time, unlocking a class, or letting a class use any room of its size. Click Apply in this scenario on one, then run Solve so the class can move. Undo takes it back.
To practise, open the demo, go to Scenarios and click Load next to with-clashes. It has three clashes to work through: an instructor booked twice, two locked classes in one room, and a class held to a room that is too small.
Step 5
Let Solve help
Solve looks for a timetable with no hard conflicts and the lowest soft score it can find. It moves any class that isn't locked or fixed.
- Lock the classes you're happy with (Inspector, the lock box), so Solve leaves them where they are.
- Save a copy of the timetable in Scenarios, so you can compare before and after.
- On the Overview, click Solve. Leave its settings as they are. Cancel stops it at any time.
- When it finishes, it shows the new score. Click Apply this result to use it, or Discard to keep what you had. Nothing changes until you apply.
If Solve can't get hard to 0, the conflicts left are usually the kind a move can't fix. Go back to the Conflicts loop and read those rows. In the with-clashes scenario, Solve clears the instructor booked twice; the two left need a change from What would clear these.
Step 6
Save your work
- Save often with Ctrl+S or the Save button. An unsaved tag shows in the top bar while you have changes that aren't in the file yet.
- The first time you save, the browser asks whether Termfit may edit the file. Choose to allow it. After that, Save writes straight over the file.
- If the browser can't save over the file, Save puts a new copy in your Downloads folder instead. Move that copy back over the old one.
- Keep backups: at the end of a working day, copy the file and put the date in the copy's name. Keep working in the original.
- Sending the file back? Save first, then attach the .termfit file to your email. That one file is all anyone needs.
The browser also keeps a recovery copy of your last session, shown as Restore last session on the start screen. The browser can clear it, so the file is the copy that counts. On a shared computer, anyone using the same browser profile can restore it: click Discard recovery copy on the start screen when you finish.
Step 7
Print week schedules
The Export view makes four printouts from the open timetable:
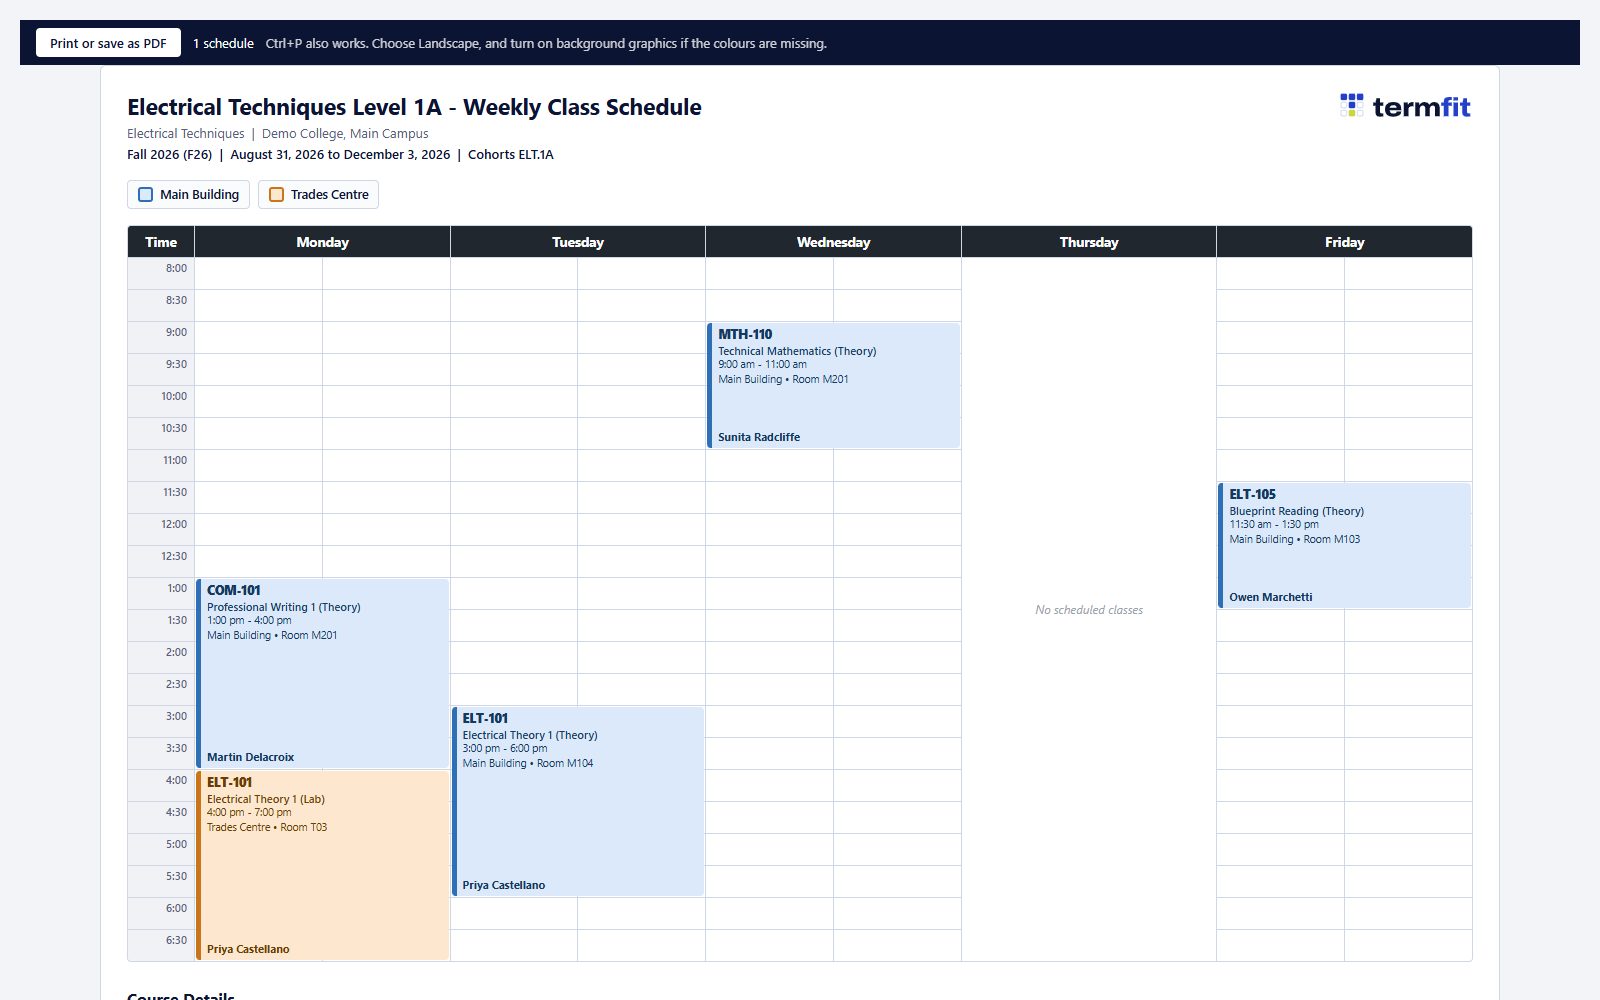
- Student week schedules, one for each cohort.
- A daily campus schedule, one page per weekday.
- Faculty week schedules, one for each instructor.
- Room door sheets, one for each room.
A week schedule or a door sheet can run to a second page, so a printout often has about twice as many pages as schedules.
Fill in Print details once (the college, the campus and where students check the official timetable). They are saved in the file. Then pick a printout and click Open printable page. It opens in a new tab: print it, or choose Save as PDF in the print box.
Printing needs termfit.ca. The single-file copy for a USB stick can't open printable pages.
Stuck, or want your campus loaded for you? Request setup help and the Termfit Team will reply. A screenshot and one line about what you were doing is the most helpful thing you can send.